


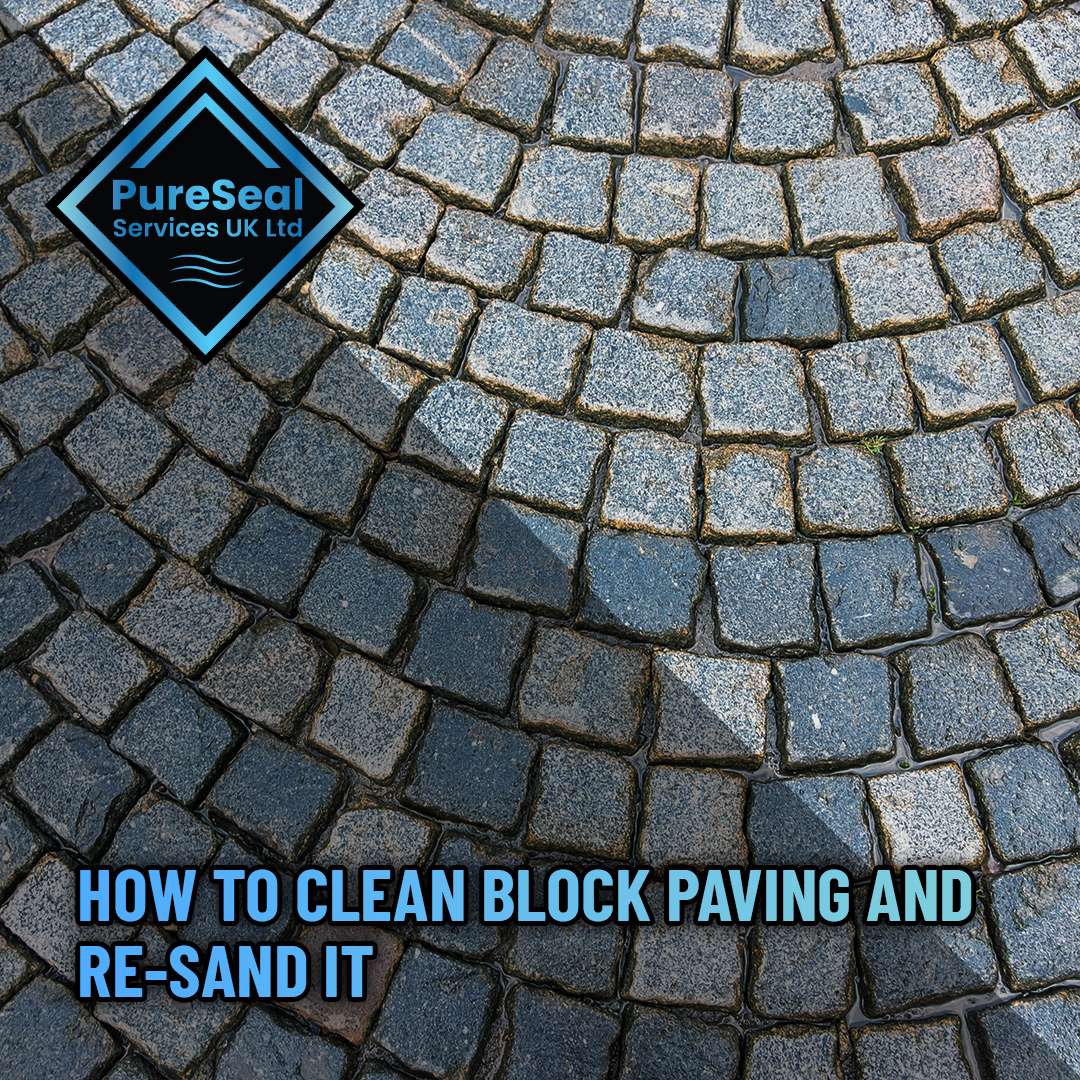
How to Clean Block Paving and Re-Sand It
Block paving is one of the most popular choices for driveways, patios and paths in the UK. It looks smart when it is properly maintained, but over time it collects dirt, weeds, moss, algae, oil stains and loses the sand between joints. Once the jointing sand starts breaking down, the surface becomes less stable and weeds start to take hold more easily.
Cleaning and re-sanding block paving is not just about appearance. It plays a key role in keeping the surface structurally sound, preventing movement between blocks and extending the lifespan of the entire paved area.
This guide explains how to clean block paving properly, remove contamination safely and carry out a correct re-sanding process without damaging the surface.
Understanding Block Paving and Why It Needs Maintenance
Block paving is made up of individual bricks laid on a sub-base with sand-filled joints. Those joints are essential because they lock the blocks together and distribute weight evenly.
When those joints weaken, the whole surface becomes more vulnerable.
Common issues with block paving over time
| Problem | Cause | Result |
|---|---|---|
| Weed growth | Loss of joint sand | Unstable surface and visual mess |
| Moss and algae | Moisture and shade | Slippery and discoloured paving |
| Oil stains | Vehicle leaks | Permanent dark patches if untreated |
| Sinking blocks | Poor base or joint loss | Uneven surface |
| Sand loss | Weather and washing | Loose, shifting paving |
Most issues begin gradually, which is why routine cleaning and re-sanding is far more effective than waiting for visible deterioration.
Tools and Equipment Needed for Safe Cleaning
Using the correct tools is essential to avoid damaging the surface or removing too much joint sand unintentionally.
Essential equipment list
| Tool | Purpose |
|---|---|
| Stiff outdoor broom | Loose debris removal |
| Pressure washer (controlled use) | Deep cleaning surface |
| Surface cleaner attachment | Even cleaning without striping |
| Weed scraper or knife | Removing deep-rooted weeds |
| Hose with spray nozzle | Rinsing and controlled water use |
| Kiln-dried sand | Re-sanding joints |
| Leaf blower | Drying and debris removal |
Optional professional-grade equipment
| Equipment | Benefit |
|---|---|
| Rotary surface cleaner | Even pressure distribution |
| Low-pressure soft wash system | Reduces risk of joint erosion |
| Industrial vac system | Removes loose debris efficiently |
Pureseal Services typically use professional-grade systems that reduce damage risk while achieving a deeper, more consistent clean compared to standard domestic pressure washers.
Step-by-Step Cleaning Process for Block Paving
Cleaning block paving properly is about control rather than force. The aim is to remove contamination without destroying the joint structure.
Step 1: Initial surface clearance
Before any water is used, the surface should be cleared of loose debris.
- Sweep the entire area thoroughly
- Remove leaves, soil and stones
- Check for visible weeds and moss growth
- Clear drains and edges
This prevents debris from being pushed into joints during washing.
Step 2: Pre-treatment of stains and weeds
Some areas need targeted treatment before washing.
| Issue | Treatment method |
|---|---|
| Oil stains | Specialist degreaser left to dwell |
| Moss growth | Biocide treatment for breakdown |
| Weeds | Manual removal or root treatment |
Allow treatments to sit long enough to break down contaminants before rinsing.
Step 3: Pressure washing the surface
This is the most sensitive stage. Too much pressure will remove joint sand and destabilise the paving.
Safe pressure washing approach
- Use a fan spray, not a pinpoint jet
- Keep nozzle at least 20–30 cm from surface
- Work in controlled overlapping sections
- Avoid blasting directly into joints
- Maintain consistent movement
Pressure comparison table
| Method | Effectiveness | Risk to joints | Recommended |
|---|---|---|---|
| Low-pressure rinse | Moderate | Low | Yes |
| Standard pressure wash | High | Medium | Careful use |
| High-pressure jet | Very high | High | Not recommended |
The goal is to clean the surface, not excavate the joints.
Step 4: Rinsing and debris removal
Once cleaning is complete, all residue must be removed properly.
- Rinse from top to bottom
- Push dirty water towards drainage points
- Avoid pooling water in low areas
- Ensure no sludge remains between blocks
Any remaining residue can interfere with re-sanding later.
Dealing with Stubborn Stains
Block paving is often affected by long-term staining that requires extra attention.
Oil and grease stains
Oil is one of the hardest substances to remove from block paving.
Treatment method:
- Apply degreasing solution
- Allow time to break down oils
- Agitate gently with stiff brush
- Rinse thoroughly
- Repeat if necessary
Old stains may never fully disappear but can often be significantly reduced.
Algae and moss removal
Algae thrives in damp shaded areas.
| Treatment type | Effectiveness | Safety |
|---|---|---|
| Biocide treatment | High | Safe when used correctly |
| Pressure washing only | Medium | Risk of regrowth |
| Manual scraping | Low | Labour intensive |
Biocide treatments are generally preferred because they treat the root of the problem rather than just the surface.
Drying the Surface Before Re-Sanding
Re-sanding must only be done when the paving is fully dry. Moisture prevents sand from settling properly into joints.
Drying methods
- Natural air drying (most effective)
- Leaf blower to remove surface water
- Light sweeping to expose damp areas
Drying time guide
| Weather condition | Drying time |
|---|---|
| Hot and sunny | 4–8 hours |
| Mild cloudy | 12–24 hours |
| Cool damp conditions | 24–48 hours |
Attempting to re-sand too early will lead to uneven compaction and weak joints.
Choosing the Right Jointing Sand
Not all sand is suitable for block paving joints. The wrong type will wash out quickly or fail to lock blocks in place.
Types of jointing sand
| Sand type | Description | Suitability |
|---|---|---|
| Kiln-dried sand | Fine, dry and free-flowing | Standard use |
| Polymer-modified sand | Hardens when wet | High durability areas |
| Sharp sand | Coarse and unstable | Not recommended |
| Building sand | Too fine and retains moisture | Not suitable |
Kiln-dried sand is the most commonly used option for domestic paving due to its balance of performance and affordability.
Re-Sanding Block Paving Properly
Re-sanding is what restores stability to the surface. Without it, block paving will gradually loosen and shift.
Step-by-step re-sanding process
Step 1: Spread dry sand
- Pour sand over entire surface
- Ensure even coverage
- Focus on joints rather than surface build-up
Step 2: Brush sand into joints
- Use a stiff broom
- Sweep diagonally across blocks
- Repeat multiple times to fill gaps
Important point:
The sand must be worked into the joints fully. Surface-level sand does not provide structural support.
Step 3: Compact the surface
Compaction helps the sand settle deeply into joints.
| Method | Effectiveness |
|---|---|
| Plate compactor | High |
| Rubber mallet tapping | Medium |
| Walking vibration | Low |
Professional services typically use compaction equipment to ensure stability and reduce future settlement.
Step 4: Top-up sanding
After compaction, gaps will appear as sand settles.
- Add more sand
- Repeat brushing process
- Ensure all joints are filled
Step 5: Final light misting
A very light water mist can help settle kiln-dried sand.
- Do not flood the surface
- Avoid washing sand out
- Allow natural curing time
Common Mistakes During Cleaning and Re-Sanding
Many issues come from rushing or using incorrect methods.
Mistakes to avoid
| Mistake | Result |
|---|---|
| Overusing pressure washer | Joint sand loss |
| Re-sanding on wet surface | Weak joint structure |
| Using wrong sand type | Rapid washout |
| Skipping compaction | Loose and shifting blocks |
| Ignoring weed treatment | Fast regrowth |
Once joint integrity is lost, the surface becomes much harder to stabilise.
Cost of Block Paving Cleaning and Re-Sanding
Costs vary depending on size, condition and level of contamination. Heavily stained or weed-infested paving takes longer and requires more material.
UK pricing guide
| Service type | Typical cost range | Notes |
|---|---|---|
| Basic clean only | £150 – £300 | Light dirt, minimal staining |
| Clean and re-sand | £250 – £600 | Standard residential driveways |
| Deep restoration clean | £400 – £900 | Heavy staining or weed infestation |
| Large driveway projects | £700 – £1,500+ | Extensive areas or complex layouts |
Premium services such as those offered by Pureseal Services sit at the higher end of the market, reflecting detailed cleaning methods, specialist equipment use and a more thorough re-sanding process designed for longer-lasting results.
Maintenance After Cleaning and Re-Sanding
Once block paving has been cleaned and re-sanded, maintenance plays a key role in keeping it in good condition.
Recommended maintenance schedule
| Task | Frequency |
|---|---|
| Light sweeping | Weekly or bi-weekly |
| Weed inspection | Monthly |
| Moss treatment | Every 3–6 months |
| Surface wash | 1–2 times per year |
| Re-sanding top-up | Every 1–2 years |
Consistent upkeep prevents the need for full restoration work later on.
Signs That Block Paving Needs Re-Sanding Again
Even well-maintained surfaces will eventually need attention.
Warning signs
- Visible gaps between blocks
- Loose or rocking paving stones
- Increased weed growth
- Sand visible on surface instead of between joints
- Water pooling in uneven areas
These signs usually indicate that joint integrity has weakened.
Professional Cleaning and Restoration Approach
Large-scale or heavily deteriorated block paving often benefits from professional restoration rather than standard DIY cleaning.
A professional approach typically includes:
- Controlled low-pressure cleaning
- Targeted stain treatment
- Full removal of contaminated joint material
- High-quality kiln-dried or polymeric re-sanding
- Mechanical compaction for stability
- Final surface finishing for uniform appearance
Pureseal Services focus on detailed restoration work rather than quick surface cleaning, which means the process is more methodical and designed to improve both appearance and structural performance over time.
Advanced Restoration Techniques for Block Paving
Once basic cleaning and re-sanding have been completed, some driveways still need additional restoration work to bring them back to a near-new condition. This is especially common where block paving has been neglected for several years or has been exposed to oil, weeds and heavy vehicle use.
Chemical restoration treatments
Some staining cannot be removed with pressure washing alone. In these cases, targeted chemical treatments are used to break down embedded contamination.
Common restoration treatments
| Treatment type | Purpose | Best use case |
|---|---|---|
| Degreasing agents | Break down oil and fuel stains | Driveways with vehicles |
| Biocides | Kill algae and moss spores | Shaded or damp areas |
| Efflorescence removers | Remove white salt deposits | New or ageing paving |
| Rust removers | Treat metal contamination | Furniture or vehicle rust marks |
These treatments must be applied carefully and evenly. Overuse or incorrect dilution can cause patchy results or surface discolouration.
Controlled re-washing after treatment
After chemical treatments have been given time to work, a second controlled wash is often required.
Key points during this stage:
- Use low to medium pressure only
- Avoid concentrating water in one area
- Ensure full rinse of all treated zones
- Work in consistent overlapping passes
The goal is to lift loosened contaminants without disturbing the structure of the jointing sand more than necessary.
Deep Re-Sanding for Structural Stability
Not all re-sanding is the same. In heavily worn block paving, a deeper structural re-sand is often required rather than a surface-level refill.
When deep re-sanding is needed
- Large gaps between blocks
- Frequent movement underfoot or vehicles
- Visible sub-base exposure in joints
- Persistent weed regrowth
- Sand completely washed out in sections
In these cases, a full joint reset is often the most effective solution.
Full joint reset process
This is more intensive than standard re-sanding and involves several stages:
- Removal of all existing joint sand
- Deep cleaning of joint channels
- Inspection of block alignment
- Re-filling with fresh kiln-dried or polymeric sand
- Mechanical compaction
- Final surface finishing
This process restores the structural “lock” between blocks, which is what gives block paving its strength under load.
Sand depth comparison
| Condition | Joint fill level | Stability |
|---|---|---|
| Fully filled joints | 100% | High stability |
| Partial fill | 50–70% | Medium stability |
| Minimal sand | Under 50% | Low stability |
Proper joint fill is what prevents lateral movement when vehicles or foot traffic apply pressure.
Preventing Weed Regrowth After Cleaning
Weeds are one of the most frustrating problems with block paving. They rarely grow from the bottom up; instead, they take root in sand-filled joints where moisture and organic debris collect.
Why weeds return
- Organic matter trapped in joints
- Insufficient sand compaction
- Gaps left after cleaning
- Wind-blown seeds settling in joints
- Lack of preventative treatment
Prevention methods
| Method | Effectiveness | Duration |
|---|---|---|
| Manual removal | Low | Short-term |
| Chemical weed killer | Medium | Moderate |
| Biocide treatment | High | Longer-term control |
| Polymer jointing sand | Very high | Long-term prevention |
Polymeric sand is often used in higher-end restoration work because it binds when activated with water, making it much harder for weeds to establish.
Block Paving Edge Restraints and Why They Matter
One of the most overlooked parts of a driveway is the edge restraint system. Without proper edging, block paving can gradually spread outward over time.
Common edge restraint types
| Type | Description | Durability |
|---|---|---|
| Concrete edging | Fixed perimeter border | High |
| Resin edge system | Flexible binding edge | Medium to high |
| Kerb stones | Solid structural boundary | Very high |
| Plastic edging | Lightweight restraint | Low |
If edge restraints fail, even a well-cleaned and re-sanded surface will eventually start to lose shape.
Signs of edge failure
- Outer blocks moving outward
- Gaps forming along borders
- Uneven edges or lifting sections
- Loss of straight driveway lines
In restoration work, stabilising edges is often just as important as re-sanding the joints.
Seasonal Effects on Block Paving Condition
Weather has a direct impact on how block paving behaves over time. Understanding seasonal influence helps plan cleaning and maintenance more effectively.
Seasonal breakdown
| Season | Main impact | Maintenance focus |
|---|---|---|
| Winter | Freeze-thaw expansion | Check for movement and cracks |
| Spring | Weed germination | Early treatment and cleaning |
| Summer | Oil stains and drying shrinkage | Deep cleaning and stain removal |
| Autumn | Leaf decay and blockage | Gutter and surface clearing |
Block paving is most vulnerable during winter and early spring due to moisture cycles and biological growth.
Drainage and Water Flow Considerations
Water management plays a huge role in the long-term condition of block paving. Poor drainage leads to softening of the sub-base, algae growth and joint erosion.
Common drainage problems
- Standing water after rain
- Water pooling near edges
- Slow runoff towards drains
- Blocked channel drains or gullies
Improving drainage performance
| Action | Benefit |
|---|---|
| Clearing drainage channels | Prevents overflow |
| Re-levelling sunken areas | Restores proper flow |
| Re-sanding joints properly | Reduces water penetration |
| Installing additional drainage | Long-term water control |
In many cases, cleaning alone is not enough if drainage issues are not addressed at the same time.
Equipment Differences: DIY vs Professional Grade
The equipment used has a major impact on both results and surface safety.
Comparison of equipment types
| Category | DIY equipment | Professional equipment |
|---|---|---|
| Pressure washing | Domestic washer | Controlled flow system |
| Sand application | Manual sweeping | Precision spreading tools |
| Compaction | Hand tools | Plate compactors |
| Stain treatment | Basic cleaners | Specialist formulations |
| Water control | Standard hose | Adjustable flow systems |
Professional systems are designed to clean deeply without compromising the integrity of the joint structure.
Pureseal Services typically operate with higher-end restoration equipment, which allows for more consistent results, particularly on larger driveways or heavily worn surfaces.
Long-Term Surface Protection Options
Once block paving has been cleaned and re-sanded, additional protection can help extend its lifespan.
Sealant application options
| Seal type | Finish | Protection level |
|---|---|---|
| Natural seal | Matte appearance | Moderate |
| Colour-enhancing seal | Darker, richer finish | High |
| High-gloss seal | Wet-look finish | Very high |
| Breathable seal | Natural appearance | High durability |
Sealants help reduce water absorption, slow weed growth and protect against oil penetration.
Benefits of sealing block paving
- Reduces staining from oil and dirt
- Slows weed and moss growth
- Helps stabilise joint sand
- Enhances overall appearance
- Makes future cleaning easier
Sealing is typically recommended after full cleaning and re-sanding once the surface has fully settled.
Common Long-Term Maintenance Issues
Even well-maintained block paving can develop problems if not monitored regularly.
Issues to watch for
| Issue | Early warning sign |
|---|---|
| Joint sand loss | Loose or powdery joints |
| Surface sinking | Uneven stepping areas |
| Colour fading | Sun exposure and weathering |
| Persistent algae | Damp shaded sections |
| Edge spreading | Loss of structural boundary |
Early intervention is far more cost-effective than full restoration work later.
Professional Restoration Approach Overview
High-quality restoration work goes beyond surface cleaning. It focuses on rebuilding stability, improving drainage and extending the lifespan of the paving.
A full professional approach typically includes:
- Assessment of structural condition
- Controlled deep cleaning
- Targeted stain and weed treatment
- Complete or partial joint reset
- Precision re-sanding with correct material
- Mechanical compaction for stability
- Optional sealing for long-term protection
Pureseal Services focus on this more comprehensive restoration approach, ensuring that block paving is not only visually improved but also structurally reinforced for long-term durability.
Block Paving Maintenance and Restoration Summary Guide
This section works as a final practical reference for keeping block paving in good condition after cleaning and re-sanding.
Ongoing care checklist
| Task | What to do | Why it matters |
|---|---|---|
| Regular sweeping | Remove leaves and grit weekly | Prevents staining and weed growth |
| Spot cleaning | Treat oil or spill marks quickly | Stops permanent staining |
| Weed control | Remove early growth immediately | Protects joint structure |
| Gutter and edge checks | Inspect drainage paths | Prevents water damage and pooling |
| Joint inspection | Check for sand loss every few months | Maintains block stability |
Early warning indicators
| Sign | What it usually means |
|---|---|
| Loose or rocking blocks | Joint sand has weakened |
| Dark staining spreading | Oil or algae is setting in |
| White residue on surface | Efflorescence developing |
| Gaps forming between blocks | Sand washout or movement |
| Water sitting after rain | Drainage or level issue |
Best long-term protection approach
- Keep joints topped up with kiln-dried or polymeric sand where needed
- Avoid aggressive pressure washing that removes joint material
- Treat algae early before it spreads across shaded areas
- Maintain edge restraints to prevent outward movement
- Consider sealing once the surface has been fully restored and stabilised
Professional maintenance note
For larger driveways, heavily stained surfaces, or areas where block movement is already visible, a full restoration approach is usually more effective than repeated light cleaning. Services such as those provided by Pureseal Services focus on deep cleaning, controlled re-sanding and structural restoration rather than surface-level washing, which helps maintain both appearance and long-term stability of the paving.